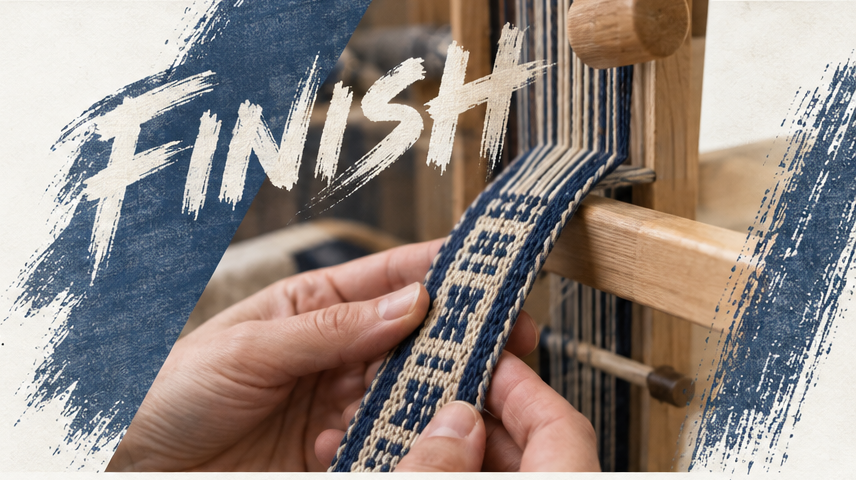
Choose the right way to finish your band based on whether it is still on the loom and what you are making.
Choose the right way to finish your band based on whether it is still on the loom and what you are making.
Select your band's stage and project above to reveal verified finishing directions.
Choose whether your band is still on the loom or off the loom (Step 1), then choose whether you are making a key fob, strap, or bookmark (Step 2) to see step-by-step guidance.
Finishing techniques vary by fiber, band density, and hardware component. The recommendations above summarize verified techniques from the following weaving authorities and hardware manufacturers:
Recommends tucking the starting weft tail in for two picks and describes needle-based and no-needle ways to secure the end weft.
Documents weaving the weft tail back through the last two or three rows for a flat raw edge (ideal for bookmarks), cutting warp ends about an inch from heddles to prevent tangling, saving heddles for reuse, and finishing belt ends with macramé, braids, or wraps.
Demonstrates a side-release buckle example: fold the band over the hardware bar about 1.5 inches from the end, fold again so the cut end is enclosed, and hand whip-stitch the fold.
Instructs weavers to sew thread tails back three or four sheds while under loom tension, remove the band by cutting a few centimeters or inches behind leashes, and finish fringe by leaving loose, plaiting, twisting, knotting, or gluing and cutting close.
Demonstrates fitting a webbing end inside the clamp base, protecting the hardware surface with scrap cloth, and applying gentle, even pressure with pliers; check that your woven band fits the specific component.